SFML 2 Windows Development
How to install and get SFML development working on Windows. This version uses a Windows 7 64 bit operating system, SFML 2.1 32 bit, Visual Studio 2010 with a Windows 32 target application, and the SFML 2.1 installation guide: ["SFML and Visual Studio"]()
Downloading SFML
- Create a project directory on your Windows OS to contain SFML and your application.
- Download the target distribution from the SFML download page ("Download SFML 2.1")
- Win32 being the target of VS2010, you will need the 32 bit SFML destribution
- If you use the wrong bit version you will get errors like: fatal error LNK1112: module machine type 'x64' conflicts with target machine type 'X86'
- Unzip the packed file into your project folder so that it looks like: project\SFML-2.1\
Create Visual Studio Solution
- Start VS (Visual Studio) and click "New Project"
- Choose the created project directory and give the solution a name like "SFMLApp".
- Choose Visual C++ > Win32 > Win32 Project
- optionally you can choose the console version if you want it.
- In the wizard choose Application Type "Windows application" and check the box for "Empty project"
- You project folder will now look like:
- project
- SFML-2.1
- ...
- SFMLApp
- SFMLApp
- ...
- SFMLApp.sln
- SFML-2.1
- project
Configuring Visual Studio Solution
- Add a blank main.cpp file to the project by right clicking the project then Add > main.cpp
- This creates a blank main.cpp file in the source section
- This will also enable the C/C++ project configuration options
- Right click the project and choose Properties
- Set the configuration to "All Configurations"
- Under Configuration Properties > C/C++ > General > Addtional Include Directories add the path to the SFML header (.hpp) files:
- ....\SFML-2.1\include
- Under Configuration Properties > Linker > General > Additional Library Directories add the path to the SFML library folder:
- ....\SFML-2.1\lib;
- Switch the configuration to "Debug"
- Under Configuration Properties > Linker > Input > Additional Dependencies
- Add each SFML debug library like:
- sfml-graphics-d.lib
- sfml-main-d.lib
- sfml-window-d.lib
- sfml-system-d.lib
- sfml-audio-d.lib
- sfml-network-d.lib
- Add each SFML debug library like:
- Switch the configuration to "Release"
- Add each SFML release library like:
- sfml-graphics.lib
- sfml-main.lib
- sfml-window.lib
- sfml-system.lib
- sfml-audio.lib
- sfml-network.lib
- Add each SFML release library like:
At this point your application is linked Dynamically to SFML. In order to statically link:
Switch each of the libraries, audio, graphics, window, and system to their "-s" counterpart
e.g. sfml-window-s.lib or sfml-window-s-d.lib
main-d.lib and main.lib do not have static versions because it works for both
Under Configuration Properties > C/C++ > Preprocessor
Define the SFML_STATIC; macro under Preprocessor Definitions for "All Configurations"
Building and Running
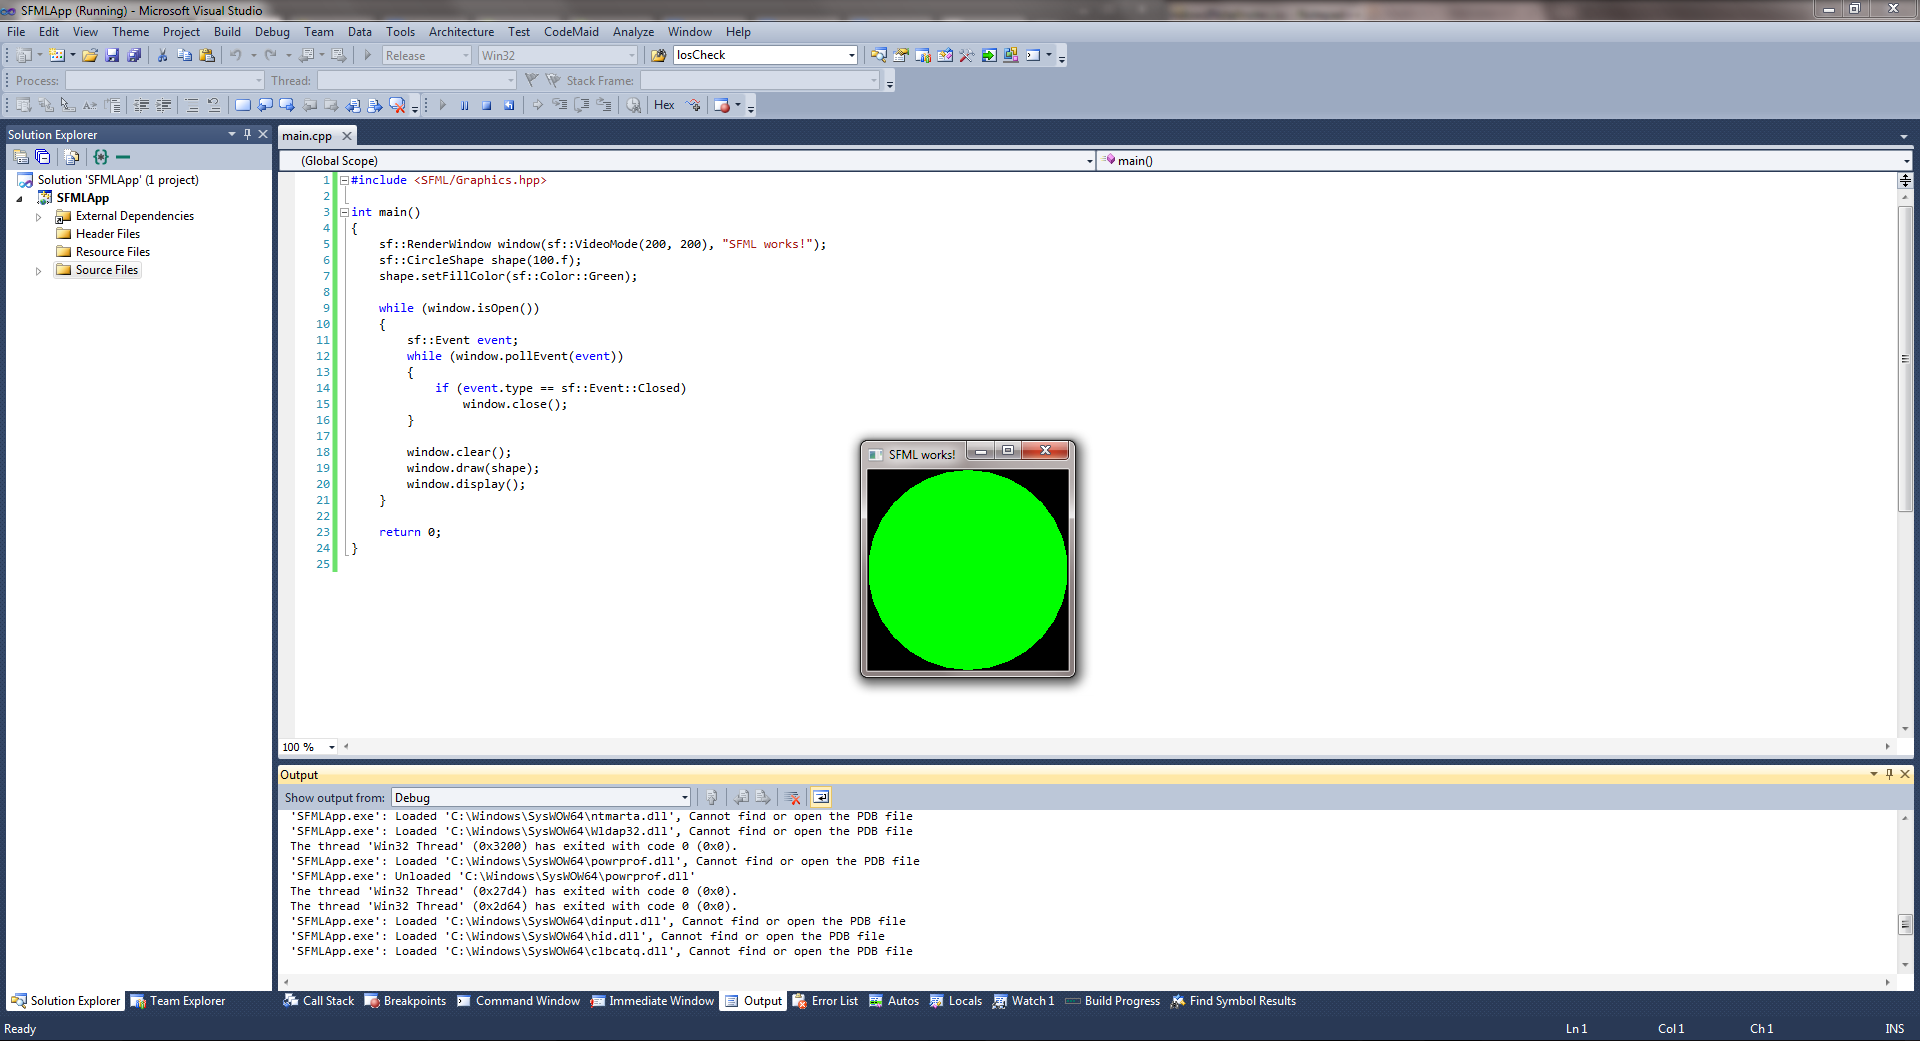
1. Now that everything is linked add the following to your blank main.cpp file:
#include <SFML/Graphics.hpp>

int main()
{
    sf::RenderWindow window(sf::VideoMode(200, 200), "SFML works!");
    sf::CircleShape shape(100.f);
    shape.setFillColor(sf::Color::Green);

    while (window.isOpen())
    {
        sf::Event event;
        while (window.pollEvent(event))
        {
            if (event.type == sf::Event::Closed)
                window.close();
        }

        window.clear();
        window.draw(shape);
        window.display();
    }

    return 0;
}
Since this is a "Windows application" Microsoft engineers decided it would be necessary to change the main entry point for a C++ program from the main() function to WinMain(). This is why we add the sfml-main.lib libraries to get around these shenanigans and make the code portable.
2. Build (not Run) the project for both Debug and Release configurations to test and to build your executable locations.
3. If you are using dynamically linked libraries copy all DLL files from the SFML-2.1\bin\ folder into your debug and release folders where the executables were built.
4. If you are linking statically, the audio DLL files are still required so copy the libsndfile-1.dll and OpenAL32.dll files into your exectuable location.
5. Run the project in both Debug and Release to test the application is working.
